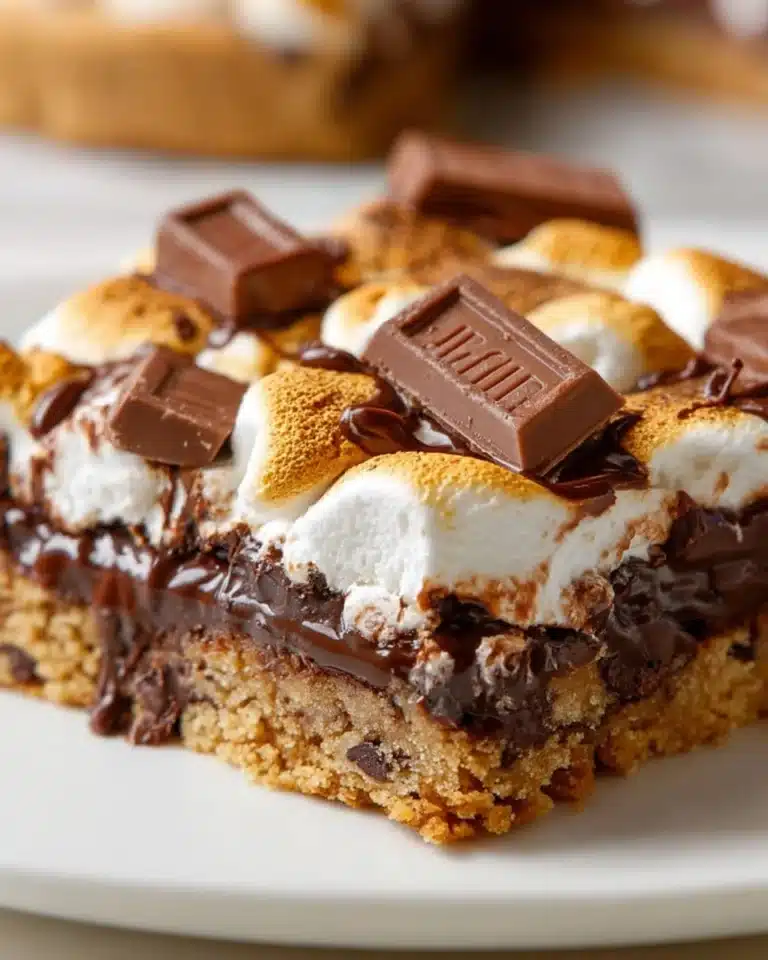
I absolutely adore this Cherry Pie Crumb Bars Recipe for its perfect combination of tart cherries nestled under a buttery, crumbly topping. It’s one of those desserts that immediately takes me back to sunny afternoons spent baking with family, yet it’s so straightforward that I can whip it up any time I’m craving a bit of homemade fruity goodness. The balance of sweet and tangy with that golden crumb crust makes it an irresistible treat I’m always excited to share with friends and loved ones.
Why You’ll Love This Cherry Pie Crumb Bars Recipe
What really draws me to this Cherry Pie Crumb Bars Recipe is the flavor profile. The fresh cherries bring a delightful tartness that cuts through the buttery richness of the crumb topping, creating a sweet and tangy harmony that feels nostalgic yet fresh. It’s that little burst of juicy cherry under a perfectly crunchy, golden crust that keeps me coming back for more every time. Honestly, it’s like having cherry pie in a convenient, easy-to-serve bar form.
Beyond the flavors, the ease of preparation is a game-changer for me. The crumbly dough comes together quickly and without any complicated steps, so it’s perfect even for an afternoon baking session when I want a sweet treat without fuss. Plus, it’s wonderfully versatile—whether I’m serving it at a casual family get-together, a holiday brunch, or just as a sweet weeknight dessert, it never disappoints. This recipe really stands out because it hits the comfort food sweet spot while being simple and approachable.
Ingredients You’ll Need

All the ingredients in this recipe are straightforward but essential—they each play a key role in creating that perfect balance of texture, flavor, and color. From the fresh cherries that provide juicy brightness, to the simple pantry staples that form the crumbly crust, every element contributes to the charm of these bars.
- Unsalted butter: Melting and cooling the butter first ensures a tender, rich crumb texture without greasiness.
- Granulated sugar: Used in both the crust and topping for just the right level of sweetness and crunch.
- All-purpose flour: Provides structure to the crumb crust that holds everything together beautifully.
- Baking soda and baking powder: These leavening agents help lighten the crumb texture just enough while keeping it sturdy.
- Salt: A pinch to enhance all the other flavors without making the bars taste salty.
- Fresh cherries: Pitted and sliced, they bring that juicy, fruity punch that tastes like summertime in every bite.
- Cornstarch: Thickens the cherry filling so it doesn’t get runny when baked.
- Lemon juice: Adds brightness and balances the sweetness with a bit of zing.
Directions
Step 1: Preheat your oven to 375 degrees Fahrenheit. This temperature helps the crust bake evenly and develop that gorgeous golden color.
Step 2: Line an 8-inch square baking pan with parchment paper, then butter the sides and bottom to prevent sticking. This step makes lifting the bars out a breeze once they’re baked.
Step 3: In a medium mixing bowl, combine the pitted, halved cherries with cornstarch and lemon juice. Stir gently to coat all the cherries evenly—this helps thicken the filling as it bakes.
Step 4: In a large bowl, mix together the melted, cooled butter and granulated sugar until smooth. I like to make sure the butter isn’t too hot so it doesn’t melt the sugar too much.
Step 5: Add the flour, baking soda, baking powder, and salt to the butter mixture. Use a fork to stir until you get crumbly lumps—this crumbly texture is exactly what you want to bake into a tender, buttery crust and topping.
Step 6: Set aside about three quarters of a cup of this crumb mixture. This will become the topping, so it’s important to reserve it.
Step 7: Press the remaining crumb mixture firmly into the bottom of your prepared pan to create an even crust layer.
Step 8: Spread the cherry filling evenly over the crust. Be gentle so you don’t break up the crumb base beneath.
Step 9: Sprinkle the reserved crumb mixture evenly over the top of the cherries. This final layer will become that irresistible crunchy topping.
Step 10: For a little extra sparkle and sweetness, sprinkle a teaspoon of granulated sugar over the crumb topping before baking.
Step 11: Bake for 23 to 25 minutes or until the top turns a beautiful golden brown and the cherry filling is bubbling just around the edges.
Step 12: Let the bars cool completely in the pan before cutting. This helps the filling set so you get clean, neat squares every time.
Servings and Timing
This recipe makes about 9 generous servings, perfect for sharing or indulging as a sweet snack over a few days. You’ll spend roughly 10 minutes on prep, and the baking time is about 23 to 25 minutes. Including cooling time—at least 20 minutes—you’re looking at a total of around 33 minutes before enjoying these delicious bars. I always recommend giving them enough time to cool fully; patience really pays off here!
How to Serve This Cherry Pie Crumb Bars Recipe

When it comes to serving these cherry crumb bars, I love to keep things simple and let their natural charm shine. They’re fantastic fresh out of the oven, still warm and fragrant. At that point, you can serve them with a scoop of vanilla ice cream or a dollop of whipped cream for a classic dessert experience that everyone adores.
If you’re serving them at a brunch or afternoon gathering, they go beautifully alongside a cup of hot tea or freshly brewed coffee—the gentle tartness of the cherries pairs perfectly with the rich, earthy notes in your beverage. For a bit of sparkle, a glass of lightly chilled sparkling rosé complements the fruitiness and buttery crumbs gracefully, making it a lovely choice for holiday celebrations or dinner parties.
Presentation-wise, I like to cut the bars into neat squares or rectangles and arrange them on a pretty serving plate with a light dusting of powdered sugar. Garnishing with a few fresh cherries or a sprig of mint adds a charming touch. Whether it’s a family dinner dessert or a weekend treat, these bars are best enjoyed at room temperature or slightly warm for full flavor and the perfect crumbly texture.
Variations
I often tweak this Cherry Pie Crumb Bars Recipe to suit different occasions or dietary needs. For instance, swapping fresh cherries with frozen ones works just fine if fresh aren’t available—just make sure to thaw and drain them well to avoid excess moisture. You could also experiment with other stone fruits like blueberries or raspberries for a different twist on that classic crumb bar.
For gluten-free adaptations, I substitute the all-purpose flour with a blend of gluten-free flour and xanthan gum to maintain the crumbly texture. And if you want to make it vegan, using a plant-based butter alternative melted and cooled does the trick without sacrificing that buttery richness. I love how versatile this recipe is—there’s so much room to customize while keeping that lovely crumbly finish.
Another variation I enjoy is adding a sprinkle of cinnamon or almond extract to the crumb topping for an aromatic flair that turns these bars into a more seasonal delight. Sometimes I like to reduce the sugar a bit too, especially if my cherries are very sweet. Baking them in a slightly larger pan will make thinner bars that bake faster and have a crunchier crust, so you can experiment to see which you prefer the most.
Storage and Reheating
Storing Leftovers
I usually store leftover Cherry Pie Crumb Bars in an airtight container at room temperature for up to two days. If my kitchen feels warm, I prefer to keep them in the fridge where they last about 4 to 5 days without losing their delicious texture. Using parchment paper between layers keeps the bars from sticking and helps maintain their crumbly charm.
Freezing
These bars freeze very well, which is great for making ahead of time. I wrap individual bars tightly in plastic wrap and place them in a freezer-safe container or zip-top bag. They can be frozen for up to two months without any drop in quality. When you’re ready to enjoy them, just thaw overnight in the fridge or at room temperature for a few hours, depending on how patient you are!
Reheating
To bring back that fresh-from-the-oven warmth, I usually reheat bars in a 350-degree Fahrenheit oven for 8 to 10 minutes, uncovered. This method keeps the crumb topping crisp while warming the cherry filling perfectly. I avoid microwaving because it tends to make the crumb topping soggy, which loses that wonderful contrast of textures that makes this recipe so special.
FAQs
Can I use frozen cherries instead of fresh ones?
Absolutely! Frozen cherries work well in this recipe, and I often use them when fresh cherries aren’t in season. Just be sure to thaw and drain them thoroughly so the filling doesn’t become too watery. Adding the cornstarch also helps thicken the filling nicely.
Is it possible to make these bars healthier or lower in sugar?
Definitely. I sometimes reduce the sugar in the crumb topping slightly if my cherries are extra sweet. You can also swap out regular sugar for coconut sugar or a sugar substitute that measures like sugar. For a whole grain twist, substituting part of the all-purpose flour with oat flour adds fiber and a nice nutty flavor.
Can I prepare the crumb mixture in advance?
Yes! The crumb mixture can be made a day ahead and stored in an airtight container in the fridge. Just give it a quick stir before using. This can make the baking process even faster when you’re ready to assemble and bake the bars.
How do I prevent the crust from becoming soggy with the cherry filling?
Using cornstarch in the cherry filling is key to thickening the juices during baking, which helps protect the crust from getting soggy. Also, pressing the crust down firmly and baking the bars until the topping is golden ensures the crust bakes through properly for that perfect texture.
Can these bars be made vegan?
Yes, by substituting the butter with a vegan butter or coconut oil, you can easily make this recipe vegan-friendly. The crust may have a slightly different texture but the flavor remains delicious, and the cherries still shine through beautifully.
Conclusion
I really hope you give this Cherry Pie Crumb Bars Recipe a try because it’s become one of my all-time favorite desserts to make and share. It’s approachable, bursting with fresh fruit flavor, and has that incredible crumbly texture that just feels like home. Whether you’re baking for a special occasion or just a sweet craving, these bars are sure to brighten your day and earn a permanent spot in your recipe rotation. Happy baking!
Print
Cherry Pie Crumb Bars Recipe
These Cherry Pie Crumb Bars feature a buttery crumb crust and a sweet-tart cherry filling, topped with a golden crumb topping. Perfectly baked until golden, they make a delicious dessert or snack that blends the flavors of a classic cherry pie in a convenient bar form.
- Total Time: 33-35 minutes
- Yield: 9 bars
Ingredients
Crumb Base and Topping
- ½ cup unsalted butter, melted and cooled to room temperature
- ½ cup granulated sugar
- 1 ½ cups all-purpose flour
- ½ tsp baking soda
- ½ tsp baking powder
- ¼ tsp salt
Cherry Filling
- 2 cups fresh cherries, pitted and each sliced in half
- 1 tablespoon cornstarch
- 1 tablespoon lemon juice
- 1 teaspoon granulated sugar
Instructions
- Preheat the Oven: Preheat your oven to 375℉ (190℃) to prepare for baking the bars.
- Prepare the Baking Pan: Line an 8-inch square baking pan with parchment paper, and butter the sides and bottom to prevent sticking. Set aside.
- Mix Cherry Filling: In a medium bowl, combine the sliced cherries, cornstarch, and lemon juice. Stir until cherries are evenly coated to thicken the filling during baking.
- Make Crumb Mixture: In a large bowl, mix together the melted butter and sugar. Then add the flour, baking soda, baking powder, and salt. Stir with a fork until the mixture resembles coarse crumbs.
- Reserve Topping Crumbs: Set aside ¾ cup of the crumb mixture for the topping.
- Form the Crust: Press the remaining crumb mixture evenly into the bottom of the prepared pan, creating the bar’s crust layer.
- Add Cherry Filling: Spread the cherry mixture evenly over the pressed crust layer in the pan.
- Top with Crumbs: Sprinkle the reserved crumb mixture evenly over the cherry filling.
- Add Sugar Topping: Sprinkle the teaspoon of granulated sugar over the crumb topping to enhance browning and add a touch of sweetness.
- Bake the Bars: Place the pan in the oven and bake for 23 to 25 minutes, or until the crumb topping turns golden brown and the filling is bubbly.
- Cool and Serve: Allow the bars to cool completely in the pan before cutting them into squares to serve.
Notes
- Make sure the melted butter is cooled to room temperature before mixing with sugar to prevent melting the sugar too much and altering texture.
- Using fresh cherries adds the best flavor, but frozen cherries can be used if thawed and drained well.
- Pressing the crumb mixture firmly for the crust ensures a solid base that holds together when cut.
- Cooling completely before cutting is important to allow the filling to set properly and avoid messy bars.
- For extra flavor, consider sprinkling a pinch of cinnamon in the crumb mixture.
- Prep Time: 10 minutes
- Cook Time: 23-25 minutes
- Category: Dessert
- Method: Baking
- Cuisine: American