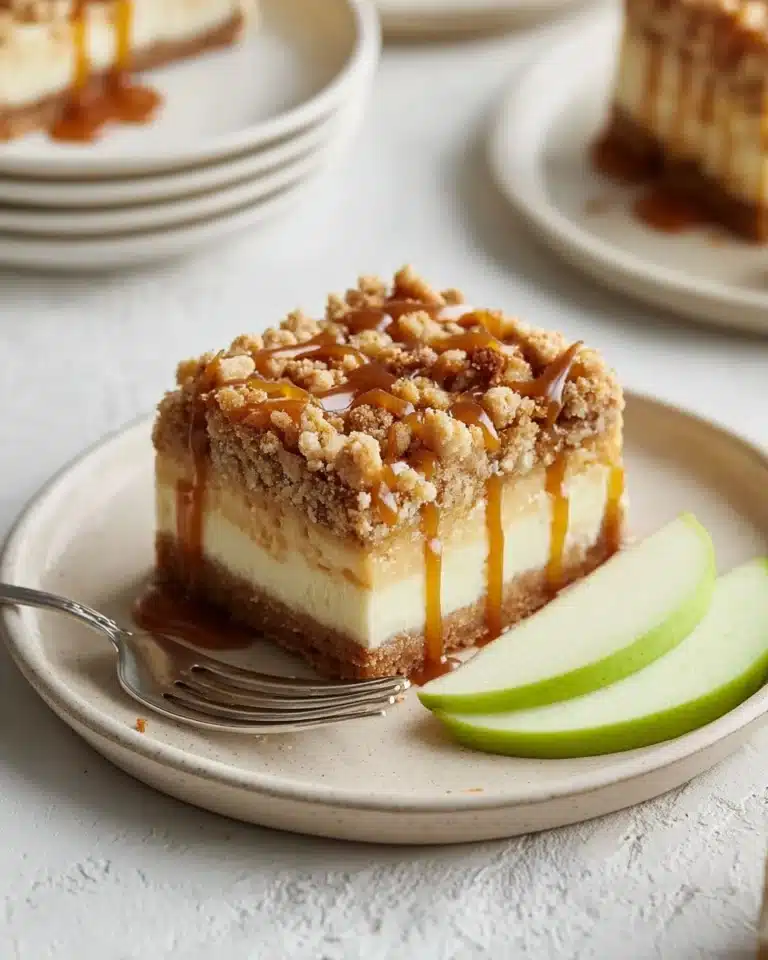
I absolutely adore baking this French Pear Tart with Fig Preserves Recipe because it brings together the subtle sweetness of ripe pears and the deep, luscious flavor of fig preserves in the most elegant way. Every time I make this tart, it feels like I’m sharing a little piece of classic French patisserie with my friends and family, and the golden crust paired with the caramelized pear topping never fails to impress. This recipe has become one of my favorite go-to desserts when I want to create something that’s both sophisticated and comforting.
Why You’ll Love This French Pear Tart with Fig Preserves Recipe
What makes this tart truly special for me is the harmony of flavors and textures. The buttery crust melts in your mouth while the tender pears offer a gentle sweetness that’s perfectly uplifted by the rich, slightly tangy fig preserves. There’s just something magical about how the preserves caramelize right on top of the pears, giving each bite a subtle glaze that’s both beautiful and delicious. Whenever I serve it, guests always comment on how the flavors seem so refined yet delightfully approachable.
Besides the incredible taste, this tart is wonderfully straightforward to prepare. I love recipes that don’t demand too much fuss but still yield a wow-worthy result, and this French Pear Tart with Fig Preserves Recipe fits the bill perfectly. The steps are simple enough that even if you’re not a seasoned baker, you’ll feel confident making it. Plus, it’s a fantastic dessert for all kinds of occasions—from cozy family dinners to special holiday gatherings—because who can say no to a slice of perfectly caramelized pear tart?
Ingredients You’ll Need

These ingredients are delightfully simple yet essential in creating the tart’s perfect taste, texture, and color. Each one plays a key role in bringing that classic French charm to your dessert table.
- 1 1/2 cups all-purpose flour: This is the foundation of the crust, giving it structure and that tender crumb we all love.
- 5 tbsp sugar: Just enough sweetness to balance the tartness of the pears and fig preserves.
- 1/2 tsp salt: It enhances all the flavors without overpowering, especially important in the crust.
- 12 tbsp unsalted butter, melted: Butter is the heart of the crust, delivering richness and flakiness.
- 8 large pears, washed: The star fruit of the tart—juicy, sweet, and perfect for layering and pureeing.
- 3 tbsp unsalted butter: Used for cooking the pears, adding depth and a velvety finish.
- 1 tbsp water: Helps soften the pears gently during cooking.
- 3/4 cup fig preserves: Brings a beautiful sweetness and that gorgeous caramelizing effect on top.
- 1/4 tsp salt: Balances the puree during cooking, highlighting the fruit’s natural flavors.
Directions
Step 1: Position one oven rack in the middle and the other rack at the top slot of your oven, then preheat the oven to 350 degrees Fahrenheit.
Step 2: In a bowl, combine the flour, sugar, and salt. Pour in the melted butter and mix everything together until it forms a dough.
Step 3: Transfer the dough to a 9-inch tart pan with a removable bottom. Press it down with your hands so it evenly spreads across the bottom and up the sides of the pan.
Step 4: Place the tart pan on the middle oven rack and bake for 30 minutes or until the crust turns a lovely golden brown. Once baked, remove the crust and allow it to cool while keeping the oven on.
Step 5: Warm the fig preserves in the microwave for about 40 seconds, then strain through a mesh sieve to separate the chunky bits from the liquid.
Step 6: Slice five of the pears into 1/2-inch slices, removing the cores as you go.
Step 7: Melt 1 tablespoon of butter in a large cast iron skillet; add the pear slices and 1 tablespoon of water. Cover the pan and cook over medium heat for about 3 minutes, until the pears soften slightly.
Step 8: Remove the softened pears from the pan and set aside to cool.
Step 9: Slice the remaining three pears in the same way as before.
Step 10: Melt 2 tablespoons of butter in the same skillet, then add the newly sliced pears along with the chunky fig preserves and salt. Cover and cook over medium heat for 10 minutes, stirring occasionally, until the pears become very tender.
Step 11: Use a potato masher to mash the pear and fig mixture into a smooth puree. Continue cooking for another 5 to 7 minutes, allowing the puree to reduce and thicken.
Step 12: Spread this pear-fig puree evenly over the cooled tart crust.
Step 13: Arrange the cooled pear slices on top of the puree in concentric circles, starting from the outer edge, layering to create an appealing pattern.
Step 14: Place the tart back in the oven on the middle rack and bake at 350 degrees Fahrenheit for 30 minutes.
Step 15: Warm the strained fig preserve liquid in the microwave for 20 seconds.
Step 16: Remove the tart from the oven and lightly brush the pear slices with the warmed fig liquid.
Step 17: Return the tart to the oven, placing it on the top rack, and broil very briefly while watching carefully until the pears develop a beautiful caramelized glaze.
Step 18: Remove the tart from the oven and allow it to cool for at least 1 1/2 hours to set completely.
Step 19: When cool, place the bottom of the tart pan on a wide can and very carefully slide the ring of the pan downward to release the tart.
Step 20: Slice the French Pear Tart into eight generous portions and enjoy every buttery, fruity bite!
Servings and Timing
This French Pear Tart with Fig Preserves Recipe makes about 8 to 12 servings, depending on how generous you slice it. The preparation time is roughly 20 minutes, but the overall cook time including baking and final broiling takes about 1 hour and 20 minutes. Don’t forget to factor in the resting and cooling time of at least 1 1/2 hours, which is crucial for letting the flavors meld and the tart set beautifully before serving. Overall, you can expect to spend around 3 hours from start to finish, but trust me, it’s so worth the wait!
How to Serve This French Pear Tart with Fig Preserves Recipe

When it comes to serving this tart, I love to present it at room temperature or slightly chilled, which really brings out the complexity of the pear and fig flavors. Serving this beautiful dessert on a simple white or rustic ceramic plate allows the golden hues and caramelized top to shine. A light dusting of powdered sugar on the edges can add a lovely touch of elegance, but it’s beautiful even without it.
I often pair this tart with a scoop of vanilla bean ice cream or a dollop of lightly whipped cream to add a creamy contrast that balances the fruit’s natural sweetness. For a more sophisticated touch, a drizzle of aged balsamic glaze complements the fig preserves wonderfully and adds a tangy depth that surprises and delights guests.
As for drinks, I’m partial to serving this tart with a glass of chilled Sauternes or a sweet Riesling, which mirror the fruity notes perfectly. If you prefer non-alcoholic options, a fragrant Earl Grey tea or a fresh pear-infused sparkling water pairs nicely and refreshes the palate. This tart really shines at special occasions like holiday dinners, brunches, or festive gatherings, but I also love surprising my family with it on a quiet weekend afternoon.
Variations
I like to switch things up sometimes by experimenting with different fruits or preserves in this French Pear Tart with Fig Preserves Recipe. You could try substituting the pears with apples or quince for a slightly different texture and flavor, or swap the fig preserves with apricot or raspberry preserves to feature other seasonal fruits. Each variation changes the character of the tart while keeping it deliciously French-inspired.
If you’re looking for a gluten-free version, I recommend using a gluten-free flour blend for the crust—just be mindful that the texture might be a little less flaky but still tasty. For a vegan adaptation, replace the butter with a vegan butter alternative or coconut oil and use a plant-based butter substitute when cooking the pears. The flavor remains rich and comforting, which is what I love.
For a more rustic flair, you could cook the pears and preserves a little less before assembling, letting more of the fruit’s natural texture come through in the final tart. Alternatively, try grilling the pear slices lightly before placing them on the tart to add a subtle smoky note. Baking temps and times might shift slightly depending on these tweaks, so keep an eye on your tart to avoid overcooking.
Storage and Reheating
Storing Leftovers
I always store leftover tart slices in an airtight container in the refrigerator. It keeps beautifully for 3 to 4 days, and I find that the flavors actually deepen a bit overnight. Just make sure the container is sealed well to keep the crust from absorbing moisture and becoming soggy.
Freezing
This tart freezes quite well if you want to save some for later. I recommend wrapping the whole tart tightly in plastic wrap and then in aluminum foil, or freezing individual slices in airtight containers. It can be stored in the freezer for up to 2 months. When you’re ready to enjoy, thaw it in the refrigerator overnight to preserve the flavor and texture.
Reheating
To warm up your tart without compromising its delicate texture, I suggest reheating slices in a 325-degree Fahrenheit oven for about 10 minutes. This gently warms the fruit and crisp crust without drying it out. Avoid microwaving if possible, as it can make the crust chewy or the fruit watery. If you want that fresh-out-of-the-oven feel, a few minutes under the broiler is great, but watch it carefully to avoid burning.
FAQs
Can I use canned pears instead of fresh ones in this French Pear Tart with Fig Preserves Recipe?
While fresh pears provide the best texture and flavor, you can use canned pears in a pinch. Just be sure to drain them well and pat them dry to avoid excess moisture, which can make the crust soggy. Keep in mind canned pears are often sweeter and softer, so cooking times might be shorter.
What type of pears works best for this tart?
I prefer firmer varieties like Bartlett, Bosc, or Anjou pears because they hold their shape well during cooking and have a nice balance of sweetness and acidity. Avoid very soft or overripe pears, which might turn mushy and watery in the tart.
Is it necessary to strain the fig preserves?
Straining separates the thicker chunks from the liquid, which helps with glazing the pears for that beautiful shiny finish. If you don’t mind a chunkier texture on top, you can skip this step, but I find the glaze much more elegant when it’s smooth and liquid.
Can I prepare the crust in advance?
Absolutely! You can prepare the crust dough and press it into the pan a day ahead, then keep it refrigerated until you’re ready to bake. Just let it sit at room temperature for about 15 minutes before baking to ensure even cooking.
What can I use instead of fig preserves?
If fig preserves aren’t available, apricot or plum preserves are excellent substitutes with their own lovely sweetness and texture. Raspberry jam also works if you want a tangier profile, just make sure to adjust the sugar slightly if needed to balance the flavors.
Conclusion
I can’t recommend this French Pear Tart with Fig Preserves Recipe enough for anyone who loves a beautiful, flavorful dessert that feels both timeless and special. It’s one of those recipes I cherish because it brings warmth to the kitchen and smiles around the table every time I serve it. The combination of buttery crust, tender pears, and luscious fig glaze is simply irresistible. I hope you enjoy making and sharing it just as much as I do!
Print
French Pear Tart with Fig Preserves Recipe
This classic French Pear Tart features a buttery, golden crust filled with a luscious pear and fig puree topped with tender, caramelized pear slices. The tart is baked to perfection and finished with a glossy fig glaze, creating a beautifully elegant and delicious dessert perfect for any occasion.
- Total Time: 1 hour 20 minutes
- Yield: 12 servings
Ingredients
For the Crust:
- 1 1/2 cups all-purpose flour
- 5 tbsp sugar
- 1/2 tsp salt
- 12 tbsp unsalted butter, melted
For the Filling:
- 8 large pears, washed
- 3 tbsp unsalted butter
- 1 tbsp water
- 3/4 cup fig preserves
- 1/4 tsp salt
Instructions
- Prepare oven racks and preheat: Position one oven rack in the middle and another at the top slot. Preheat oven to 350°F (175°C).
- Make the dough: In a mixing bowl, combine the flour, sugar, and salt. Add melted butter and stir until a dough forms.
- Form the crust: Transfer the dough to a 9-inch tart pan with a removable bottom. Press the dough evenly onto the bottom and up the sides of the pan using your hands.
- Bake the crust: Place the tart pan on the middle oven rack and bake for 30 minutes or until the crust is golden brown. Remove and let it cool while keeping the oven on.
- Strain fig preserves: Warm the fig preserves in the microwave for about 40 seconds. Pour them through a fine mesh strainer to separate the liquid from the fig chunks, reserving both.
- Slice and cook pears (first batch): Slice five pears into 1/2-inch thick slices, discarding the cores. Heat 1 tbsp butter in a large cast iron skillet, add the pear slices and 1 tbsp water, cover, and cook over medium heat for about 3 minutes until slightly tender. Remove and let cool.
- Slice second batch of pears: Slice the remaining three pears in the same manner.
- Cook pears with fig chunks: Melt 2 tbsp butter in the same skillet. Add the second batch of pear slices, the fig chunks, and salt. Cover and cook over medium heat for 10 minutes, stirring occasionally, until pears are very tender.
- Mash the pear-fig mixture: Use a potato masher to mash the cooked pears and figs into a puree. Continue cooking for 5-7 minutes until the mixture thickens and reduces.
- Assemble the filling: Spread the pear-fig puree evenly over the cooled tart crust.
- Arrange pear slices: Layer the cooled pear slices on top of the puree in overlapping concentric circles, starting from the outer edges towards the center.
- Bake the tart: Place the tart on the middle rack and bake at 350°F for 30 minutes.
- Warm fig glaze: Reheat the reserved strained fig liquid in the microwave for about 20 seconds.
- Glaze pears: Remove the tart from the oven and brush the surface evenly with the warmed fig liquid to create a shiny glaze.
- Broil for caramelization: Return the tart to the oven, place it on the top rack, and broil briefly, watching carefully until pears develop a caramelized, golden look.
- Cool the tart: Remove from oven and allow the tart to cool for at least 1 1/2 hours before serving.
- Remove tart from pan: Place the bottom of the tart pan over a wide can and carefully slide the ring off downward to release the tart.
- Serve: Cut the tart into 12 slices and serve. Enjoy your elegant French Pear Tart!
Notes
- Ensure pears are ripe but firm to hold their shape during cooking.
- Using a tart pan with a removable bottom makes serving easier.
- You can substitute fig preserves with apricot preserves if preferred.
- Watch the tart carefully during broiling to prevent burning.
- Letting the tart cool completely helps it set for clean slices.
- Prep Time: 20 minutes
- Cook Time: 1 hour
- Category: Dessert
- Method: Baking
- Cuisine: French
- Diet: Vegetarian