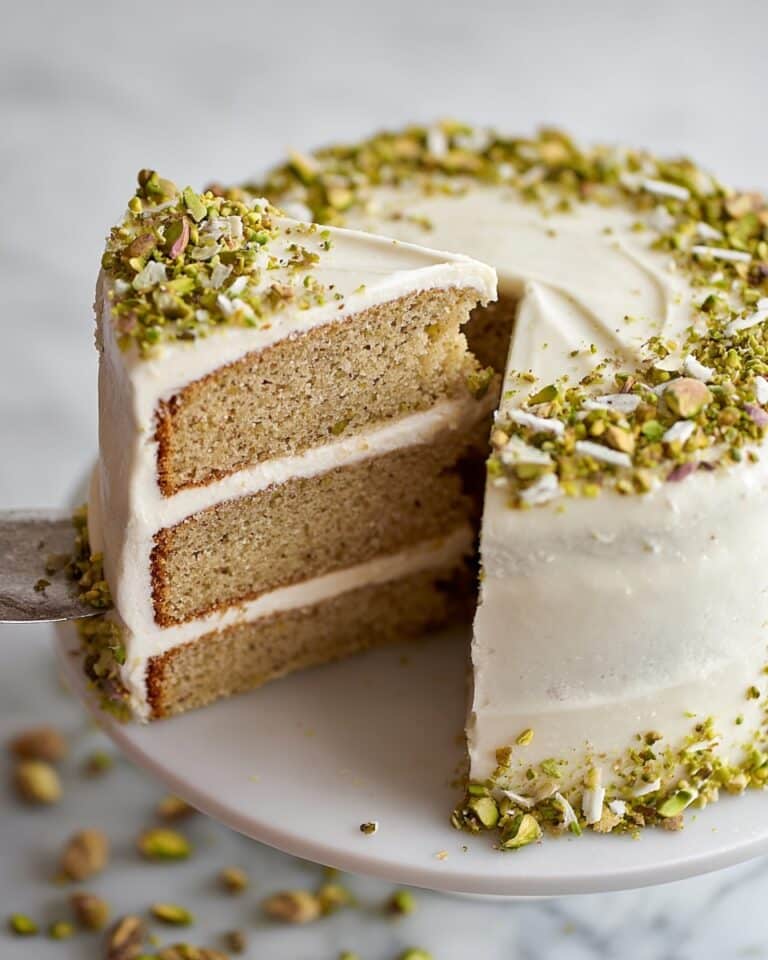
I’m so excited to share my all-time favorite Lemon Curd Recipe with you! This luscious, tangy spread has been a staple in my kitchen for years, brightening up everything from breakfast toast to elegant desserts. I love how the fresh, zesty lemon flavor perfectly balances the rich creaminess of butter and eggs, resulting in a velvety texture that feels both indulgent and refreshingly light. Trust me, once you try this, you’ll want to keep a jar on hand at all times!
Why You’ll Love This Lemon Curd Recipe
What makes this Lemon Curd Recipe truly stand out for me is its bright but balanced flavor profile. The perfect amount of lemon zest mixed with freshly squeezed lemon juice brings that unmistakable citrus punch, while the butter adds a silky richness that makes every spoonful feel like pure comfort. I love how it manages to be both tangy and creamy without being overly sweet, making it incredibly versatile for a variety of dishes.
Beyond the taste, I appreciate how straightforward this recipe is. It doesn’t require any fancy ingredients or complicated techniques, yet the results are stunningly decadent. It’s an ideal recipe for those times I want to impress friends with minimal fuss, or simply treat myself to something homemade and nourishing. Plus, it’s perfect for any occasion—whether it’s breakfast, afternoon tea, or a special holiday dessert.
Ingredients You’ll Need

The ingredients for this lemon curd are wonderfully simple but carefully chosen to create the best flavor and texture. Each one plays a key role, from the tangy lemons to the creamy butter and smooth eggs.
- Granulated sugar: Helps balance the tartness of the lemons and give the curd a smooth finish.
- Fresh lemons: Both zest and juice provide that bright citrus flavor that defines this recipe.
- Unsalted butter: Adds essential creaminess and richness without overpowering the citrus notes.
- Large eggs: Help thicken the curd and give it a luscious, custard-like consistency.
- Salt: A tiny pinch enhances all the flavors and cuts through the sweetness.
Directions
Step 1: Start by pulling your eggs and butter out of the fridge so they can reach room temperature; this helps everything blend smoothly. Zest your lemons carefully, taking only the bright yellow peel to avoid any bitterness, and then juice them to get exactly half a cup of fresh lemon juice.
Step 2: Next, pulse the granulated sugar and lemon zest together in a food processor about 15 to 20 times until the zest is very finely incorporated into the sugar. This mixture will infuse the sugary base with a vibrant lemon aroma that shines through in the final curd. Transfer it to a large bowl or the bowl of your stand mixer.
Step 3: Using a hand mixer or stand mixer whisk attachment, beat in the room temperature butter to the lemon sugar until the mixture is light and creamy. This usually takes about 2 to 4 minutes. Be sure to scrape down the sides of the bowl to fully incorporate the butter.
Step 4: Add the eggs one at a time, mixing briefly after each addition just to combine them. Then stir in the pinch of salt and the fresh lemon juice, mixing the ingredients together gently but thoroughly.
Step 5: Pour this luscious mixture into a medium saucepan and place it over low heat. Stir constantly with a rubber spatula for 10 to 15 minutes or until the lemon curd thickens and reaches 170°F on a candy thermometer. It’s so important to keep stirring to prevent any curdling or burning on the bottom.
Step 6: Once thickened, strain the curd through a fine mesh sieve into an airtight container to remove any cooked egg bits and ensure an ultra-smooth texture. Press gently with a spatula to get every bit through.
Step 7: Cover the surface of the curd with plastic wrap, pressing it directly onto the curd to prevent a skin from forming. Refrigerate for at least 1 hour, but I personally recommend chilling it for 8 hours to let the flavors meld beautifully and the texture set perfectly.
Servings and Timing
This Lemon Curd Recipe makes about 16 servings, depending on how generously you spread it or use it in recipes. Prep time is around 20 minutes, but you’ll want to factor in about 10 to 15 minutes for cooking the curd on the stove. The total hands-on time is about 35 minutes. Cooling and chilling require at least 1 hour, though I recommend up to 8 hours for the best texture and flavor development.
How to Serve This Lemon Curd Recipe

I love serving this lemon curd chilled or at room temperature because both bring out different notes in its flavor. Spread it on warm buttermilk biscuits or toasted English muffins for a bright, sunny breakfast. Spoon it over pancakes or waffles for an elegant morning treat. You can even add a dollop to Greek yogurt or crème fraîche for a tangy-sweet twist.
For parties or dessert, I like to use this lemon curd as a filling for tarts, layering it with fresh berries or whipped cream for a spectacular presentation. Garnishing with a few tiny mint leaves or a sprinkle of lemon zest adds that final touch of freshness and color. Pair it with a light sparkling wine or a citrusy cocktail like a lemon basil smash for a perfect celebration drink pairing.
If you’re serving during cooler months, a warm scone alongside a scoop of this lemon curd is incredibly comforting. In warmer weather, chilling the curd makes it wonderfully refreshing on ice cream or layered in parfaits. The versatility in both plating and temperature means this curd is an all-year-round star in my kitchen.
Variations
Once you master this classic Lemon Curd Recipe, the possibilities to tweak it are endless. I’ve tried substituting some of the sugar with honey for a slightly floral sweetness, and it adds a subtle depth without overpowering the lemon. For a richer flavor, adding a bit of vanilla extract really complements the citrus notes beautifully.
If you’re looking for a vegan version, I recommend using a blend of coconut cream and cornstarch in place of butter and eggs—while it won’t have the exact custard texture, it’s a delicious and creamy alternative that still captures the lemon brightness brilliantly. You could also explore using lime or orange zest and juice in place of lemon for exciting flavor changes.
For a faster cooking method, some people opt to use a double boiler instead of direct heat to gently thicken the curd, which minimizes the risk of overheating and scrambling the eggs. I personally enjoy the direct stovetop method because it’s quick and allows me to stir constantly, but feel free to experiment to find what works best for you.
Storage and Reheating
Storing Leftovers
I always keep leftover lemon curd in a clean, airtight glass jar or container. Stored in the refrigerator, it stays fresh for up to two weeks. Be sure the lid seals tightly to prevent it from absorbing any fridge odors. The plastic wrap pressed onto the surface before sealing helps preserve the smooth texture.
Freezing
This lemon curd freezes well if you want to store it longer. I freeze it in small, airtight containers or freezer-safe bags, leaving a little headspace for expansion. It keeps well for up to three months in the freezer. Thaw it slowly in the refrigerator overnight before using to maintain its creamy consistency.
Reheating
When reheating lemon curd, I recommend warming it gently in a double boiler or a heatproof bowl over simmering water, stirring often until just warmed through. Avoid microwaving if possible, as uneven heating can cause curdling. Once warmed, give it a good stir to bring back its smooth texture and enjoy. If it’s too thick after chilling, a quick gentle warm-up restores its spreadable consistency perfectly.
FAQs
Can I use bottled lemon juice instead of fresh lemons?
While bottled lemon juice might work in a pinch, I highly recommend using fresh lemons for this recipe. Fresh juice provides a bright, natural flavor and freshness that bottled juice can’t match, and the zest from fresh lemons is crucial for that signature zing.
What happens if my lemon curd doesn’t thicken?
If your curd doesn’t thicken, it usually means it hasn’t cooked long enough or didn’t reach the necessary temperature of around 170°F. Keep heating gently while stirring constantly until it thickens properly. Undercooked curd won’t set well once chilled.
Can I make this lemon curd ahead of time?
Absolutely! Lemon curd actually benefits from time to chill—it intensifies its flavors and firms up its texture. Making it a day ahead is a great idea, and it can be stored safely in the fridge for up to two weeks.
Is this recipe gluten-free?
Yes, this Lemon Curd Recipe is naturally gluten-free since it contains no flour or gluten-containing ingredients. It makes a fantastic gluten-free topping or filling for many desserts.
How can I tell when the lemon curd is done cooking?
Look for a thickened mixture that coats the back of your spoon and reaches 170°F on a candy thermometer. It should feel smooth and custard-like rather than runny. Straining it after cooking also helps ensure perfect texture without any cooked egg bits.
Conclusion
I can’t recommend this Lemon Curd Recipe enough if you want something fresh, flavorful, and incredibly versatile in your kitchen. It’s a joy to make, and every spoonful feels like a little burst of sunshine. Whether you’re spreading it on your morning toast or using it to elevate a dessert, I’m sure you’ll fall in love with this recipe just like I did. Give it a try and let me know how it brightens your day!
Print
Lemon Curd Recipe
This classic homemade Lemon Curd recipe delivers a luscious, tangy spread perfect for toast, pastries, or as a filling for cakes and tarts. Made from fresh lemon juice and zest, sugar, butter, and eggs, it is cooked gently on the stovetop to achieve a smooth, creamy texture. With a balanced sweetness and bright citrus flavor, this versatile curd is a delightful addition to your dessert repertoire.
- Total Time: 8 hours 30 minutes
- Yield: 16 servings
Ingredients
Dry & Dairy Ingredients
- 1–1/2 cups granulated sugar
- 8 tablespoons unsalted butter (1/2 cup, at room temperature)
- 4 large eggs (at room temperature)
- 1/8 teaspoon salt
Citrus Ingredients
- 4 large lemons (for zest and 1/2 cup juice)
Instructions
- Prepare: Remove eggs and butter from the refrigerator to bring them to room temperature. This ensures proper mixing and texture in the final lemon curd.
- Extract Lemon Zest and Juice: Use a zester to carefully remove 3 tablespoons of zest from the outer yellow part of the lemons, avoiding the bitter white pith underneath. Then, juice the lemons using a citrus juicer to yield 1/2 cup of fresh lemon juice.
- Make Lemon Sugar: Combine the granulated sugar and lemon zest in a food processor. Pulse 15 to 20 times until the zest is finely incorporated into the sugar, creating a fragrant lemon sugar mixture. Transfer this to a large mixing bowl or the bowl of a stand mixer.
- Mix in Butter: Add the room temperature butter to the lemon sugar. Using a hand mixer or the whisk attachment of a stand mixer, beat the mixture for 2 to 4 minutes until it becomes light, fluffy, and creamy. Scrape down the sides of the bowl as needed to incorporate all ingredients evenly.
- Add Eggs and Lemon Juice: Beat in the eggs one at a time, mixing briefly after each addition to combine without overbeating. Add the salt and the freshly squeezed lemon juice. Mix just until everything is combined to keep the mixture smooth.
- Thicken the Curd: Pour the mixture into a medium saucepan and cook over low heat. Stir constantly with a rubber spatula for 10 to 15 minutes or until the curd thickens to a custard-like consistency and reaches 170°F on a candy thermometer. This temperature ensures proper setting of the curd.
- Strain and Store: Pour the hot lemon curd through a fine mesh sieve into an airtight container. Use a spatula to press the curd through, removing any cooked egg bits for an extra smooth texture.
- Chill: Cover the surface of the curd directly with plastic wrap to prevent a skin from forming. Refrigerate for at least 1 hour, preferably 8 hours, to allow the flavors to meld and the curd to fully set before serving.
Notes
- Bringing eggs and butter to room temperature helps achieve a smoother, creamier lemon curd.
- Be careful when zesting lemons to avoid the white pith, which is bitter and can affect the flavor.
- Cooking the curd to at least 170°F is essential to properly thicken and set the curd; undercooking may result in a runny texture.
- Straining the curd ensures a silky, lump-free consistency.
- Storing with plastic wrap touching the surface prevents a skin from forming on top.
- Lemon curd can be stored in the refrigerator for up to two weeks or frozen for longer storage.
- Prep Time: 15 minutes (plus 8 hours chilling time)
- Cook Time: 15 minutes
- Category: Sauce/Spread
- Method: Stovetop
- Cuisine: American
- Diet: Vegetarian